
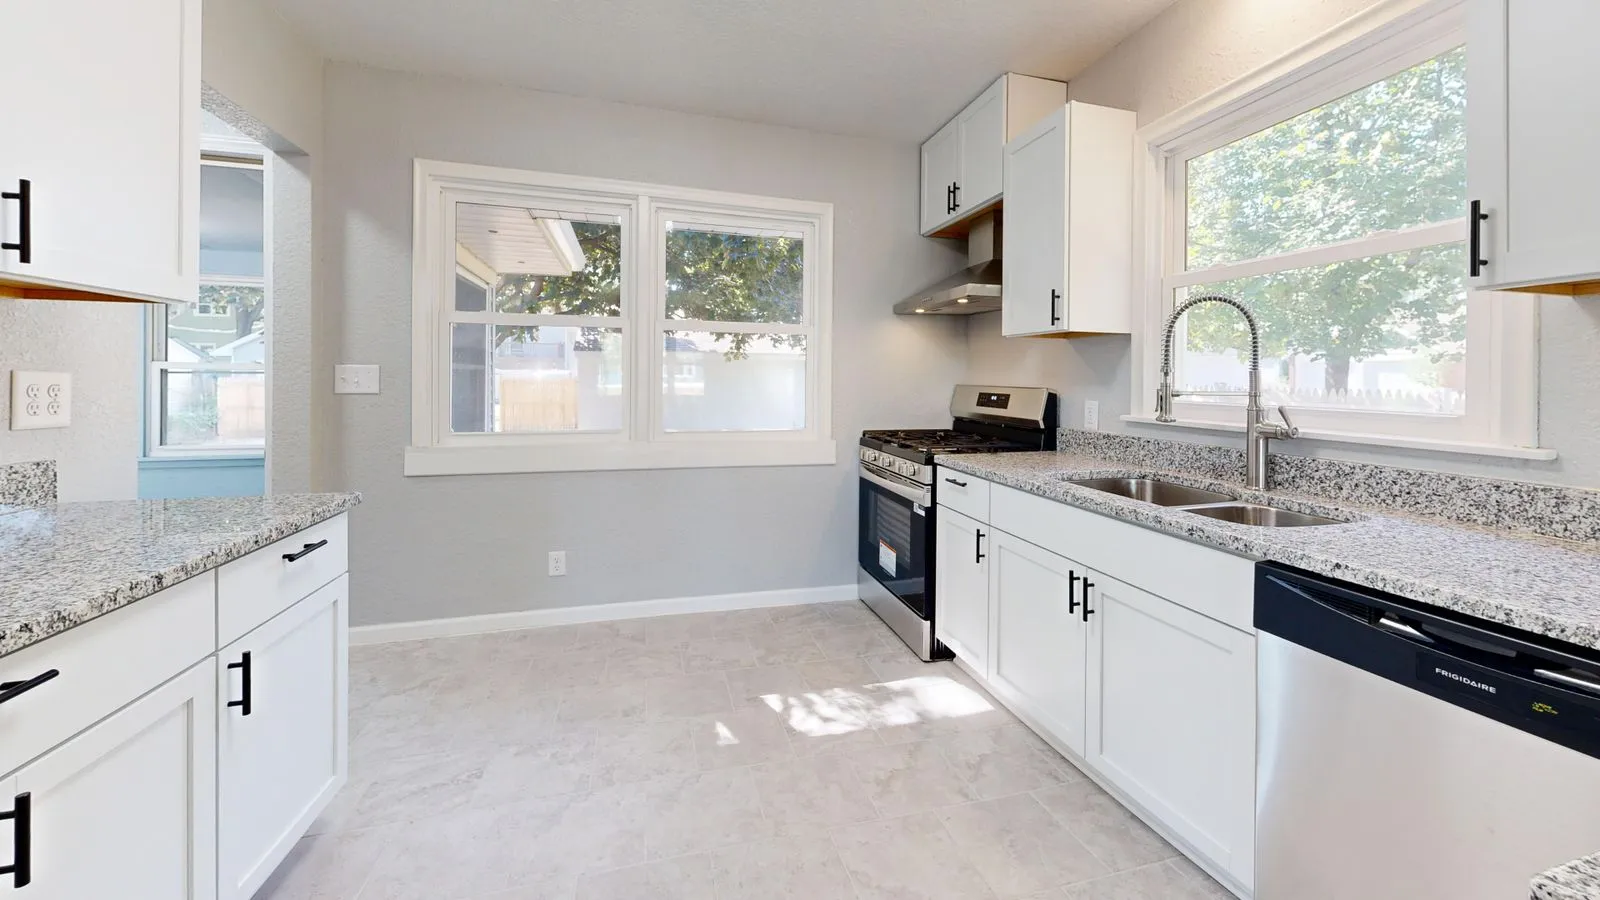
After a renovation, leftover paint, extra hardware, shipping boxes, and relocated household items can make finished rooms feel unfinished. You don’t have to sort everything in one day. Start by separating items into clear groups, then make decisions based on safety, usefulness, and realistic storage space. A calm, step-by-step review can protect materials you may need later while clearing out what no longer serves your home.
Gather and Sort by Type
Bring renovation-related items into one well-lit area, if practical. Keep materials separate from household belongings, and group similar items together: paint and finishes, tile or flooring, lumber, fixtures, hardware, tools, packaging, and displaced décor or furniture. Use a clear space where you can inspect items without blocking walkways or exits.
Before moving anything, check labels and condition. Keep chemicals, sharp tools, and heavy materials away from children and pets. Don’t open unknown containers or mix leftover products. If an item is leaking, damaged, or unlabeled, set it aside for safe disposal guidance rather than placing it with ordinary trash.
Decide Which Materials to Keep
Keep materials that are in good condition and likely to help with repairs or touch-ups. Useful examples include a small amount of matching paint, spare tiles, flooring pieces, cabinet hardware, and product information. Label each item with its room, product name or finish, and the date you stored it. Keep receipts or installation details with the materials when available.
Be selective about quantity. A few well-chosen pieces can be useful; a large pile of leftovers may become clutter. Store materials according to their labels and manufacturer instructions, especially products affected by temperature or moisture. If you cannot identify an item, do not assume it is safe or suitable for future use.
Handle Packaging and Usable Extras
Flatten clean cardboard and separate recyclable packaging from materials that local programs may not accept, such as foam, plastic wrap, or composite packaging. Check your local recycling and waste guidance before putting renovation debris in a curbside bin. Keep packaging only when it protects an item you plan to store, return, or transport.
For usable extras, contact the contractor, supplier, or manufacturer before offering them elsewhere. Some items may be returnable, while others can be useful to a community reuse organization or a neighbor completing a similar project. Confirm that donations are accepted and meet condition requirements; do not leave materials outside a donation site without approval.
Return Belongings to Their Place
Renovation work often shifts furniture and household items into temporary storage. Sort these belongings by room and purpose, then decide what should return, move to a different spot, be donated, or be discarded. Check items for dust, moisture, or damage before bringing them back into newly finished spaces.
Make a short plan for items without an obvious home. Measure available storage, choose a specific shelf or cabinet, and avoid keeping things simply because they were moved during the project. If several rooms still feel difficult to reset, North Shore Reset can help organize a practical post-renovation unpacking and placement plan.
A clear sorting process makes renovation leftovers easier to manage: protect useful materials, verify donation and recycling options, and let go of items you cannot safely or realistically store. Work in manageable sessions and finish one category at a time. If you’d like support settling your home after construction, reach out to North Shore Reset to discuss your next steps.